


Heads up, friends: this post has affiliate links, and if you shop with my code I may earn a little something at no extra cost to you. I only ever share what I genuinely love. 💛
Hey friends, it's Lizzie! Wrapping your hands looks intimidating for about three sessions, then it becomes muscle memory you do without thinking. Here's the simple step-by-step I teach every beginner — do this and you'll protect your hands from day one.
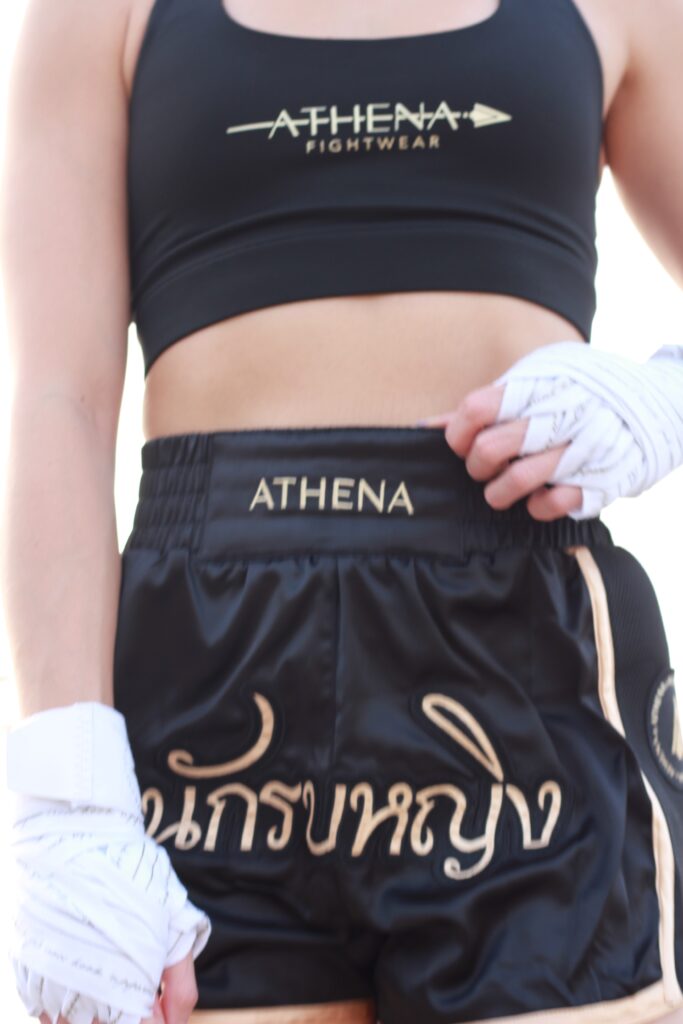
Why you wrap (never skip it)
Your hands have 27 small bones, and punching sends real force into them. Wraps compress and support those bones and your wrist so they move as one unit — and they soak up sweat so your gloves last longer and smell better. Wrapping is non-negotiable for anything more than light shadowboxing.
Step-by-step
- Anchor: loop the thumb, bring the wrap across the back of your hand, and make 3–4 wraps around your wrist.
- Knuckles: go up and make 3 wraps around your knuckles.
- Back to the wrist once to lock it in.
- Between the fingers: come from the wrist, up between each finger and back down (this spreads the padding).
- Finish back at the wrist, snug — not so tight your fingers tingle — and secure the velcro.
Caring for your wraps (so they last + don't stink)
Here's the unglamorous truth: wraps soak up all your sweat, which is exactly why your gear starts to smell if you neglect them. Keep them fresh with a simple routine:
- Wash them regularly — toss them in a mesh laundry bag (so they don't tangle into a knot) on a gentle cycle.
- Air dry them — heat breaks down the elastic, so skip the dryer and hang them up.
- Rotate two pairs so you're never stuck wrapping up with a damp set.
- Re-roll them after washing so they're ready to grab and go.
Clean wraps aren't just about smell — a stiff, sweat-crusted wrap doesn't support your hand the way a fresh one does. Two minutes of care keeps your whole kit lasting longer.
Picking wraps that actually work for you
Real talk: not all hand wraps are the same, and the type you grab changes how the whole thing feels. Here’s the quick rundown so you’re not standing there guessing.
- Semi-elastic (often called Mexican-style): a little stretch woven in, so they hug the shape of your hand and hold their snugness as you move.
- Traditional cotton: no stretch, firmer, and they stay exactly where you put them. Some people love that locked-in feel.
- Gel or “quick” wraps: slip-on gloves with padding built in. Fast when you’re rushing to class, but you give up the custom snugness you get from wrapping by hand.
I train in Hayabusa hand wraps. The Perfect Stretch pair is the one I would always put in my cart, and I also love my Captain Marvel pair, though I don’t see those in the store right now (code LILO if you’re grabbing a pair). Whatever brand you land on, look for a solid thumb loop and a wide Velcro strip. That closure is what keeps the wrap from unraveling three minutes into bag work. If you can, buy two pairs so you always have a clean set while the other one dries.
How to wrap your own hands (the part nobody shows you)
Here’s the thing every tutorial skips: your two hands have to wrap each other, and one of them is always doing the work. Wrap your non-dominant hand first. That way your steadier, more coordinated hand is the one guiding the trickier passes on your dominant side.
A few things that make it cleaner every single time:
- Keep the roll close to your hand and pull it taut as you go, not loose and floppy. Consistent tension is what makes the wrap feel like one piece instead of a lumpy mess.
- Spread your fingers apart while you do the between-the-finger weave, then relax them. Wrapping with your fingers jammed together leaves it grabbing the second you open your hand.
- On that last wrist pass, leave yourself enough length to land the Velcro flat on top of your wrist. A closure stuck down at a weird angle is the first thing to peel loose mid-round.
Give it a few sessions and your hands just know the pattern. If you want the full gear picture, my Hayabusa T3 review covers what goes on over the wraps.
🥊 What I wear underneath: Hayabusa
Wraps handle the inside; your gloves handle the wrist support and padding outside. The T3 is the pair I've trained in for 10 years. Code LILO at checkout.
Common mistakes
Too loose (it does nothing), too tight (your fingers go numb), or forgetting the between-the-fingers weave (that's what protects your knuckles). Make a fist when you're done — it should feel firm and supported. Ask a coach to check you once in person; every fighter remembers being taught. 🥊
Quick questions
Are hand wraps reusable? Yes — just wash them regularly (use a mesh bag) and air dry so the elastic lasts.
On keeping gear alive longer: why I rotate my boxing gloves.
Wraps sorted? The next thing is the gloves themselves: my women’s kickboxing glove guide.
Why do I need to wrap my hands? Wraps support the small bones of the hand and stabilize the wrist. Skipping them is one of the more reliable ways to end up with an injury that keeps you out for weeks.
How long should hand wraps be? 180 inches is standard for adults and gives enough length for the wrist, hand, and knuckles. 120-inch wraps suit smaller hands.
How tight should wraps be? Snug but not restricting circulation. If your fingers tingle or go pale, unwrap and redo them slightly looser.